Your laptop showing signs of sluggish performance and dying faster than usual? A failing battery could be the culprit, and laptop battery replacement might be exactly what you need to get back to productive computing.
This guide is designed for laptop owners who want to tackle battery replacement themselves, whether you’re a tech-savvy DIY enthusiast or someone who’s never opened up a device before. We’ll walk you through everything from spotting the warning signs that your battery is on its last legs to successfully installing and optimizing your new power source.
You’ll learn how to choose the right replacement battery for your specific laptop model, gather the essential tools needed for a safe installation, and follow our step-by-step replacement process. We’ll also cover important cost considerations to help you decide between professional service and DIY laptop battery replacement, plus share proven tips to maximize your new battery’s performance and lifespan.
Table of Contents
Identifying When Your Laptop Battery Needs Replacement
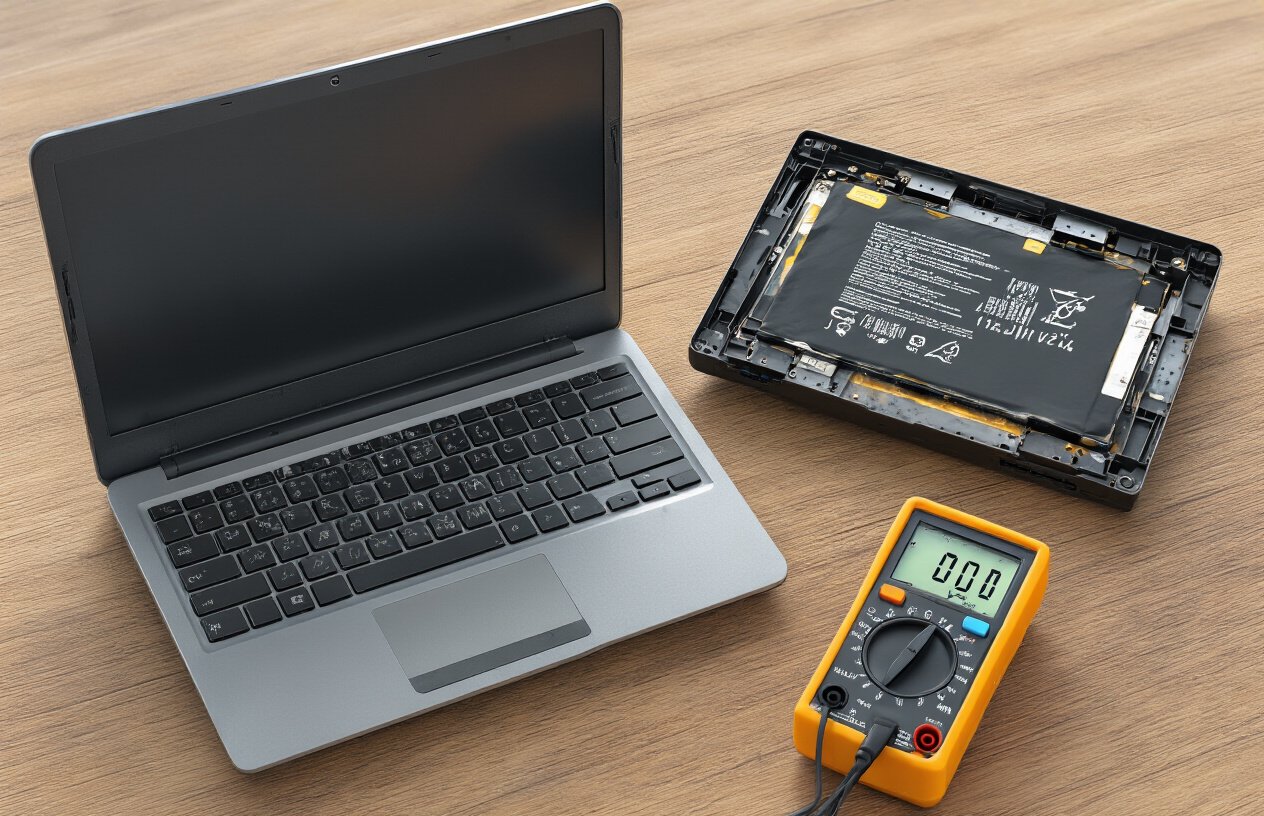
Recognizing Signs of Battery Failure
Understanding when your laptop battery needs replacement is crucial for maintaining optimal performance and avoiding unexpected disruptions. Several key indicators signal that your battery is approaching the end of its useful life.
Reduced battery life represents the most common early warning sign. If your laptop’s battery runs out significantly faster than it used to, even with similar usage patterns, the cells are likely degrading. This gradual decline in capacity becomes increasingly noticeable over time.
Unexpected shutdowns pose another clear indicator of battery failure. When your laptop shuts down unexpectedly, even while the battery indicator shows remaining charge, the battery can no longer deliver consistent power to your system. This inconsistency between displayed charge levels and actual capacity suggests internal cell damage.
Physical signs of wear require immediate attention during any laptop battery replacement assessment. Inspect your battery compartment for swelling, leaking, or corrosion around the connectors. These visible deterioration signs indicate potential safety hazards and warrant immediate replacement.
Frequent overheating during regular use often accompanies failing batteries. When batteries struggle to maintain charge efficiently, they generate excess heat, causing your laptop to become unusually hot even during light tasks.
Longer charging times or batteries that fail to reach 100% charge indicate diminished capacity. Healthy batteries should charge consistently and reach full capacity within their specified timeframe.
Testing Battery Health in Windows and macOS
Determining your battery’s actual health requires systematic testing using built-in operating system tools and specialized utilities.
For Windows 10 users, the most comprehensive approach involves running the Battery Check via Command Prompt. Execute the command powercfg /batteryreport to generate a detailed battery report containing cycle counts, capacity information, and usage patterns. This report provides essential data for evaluating whether you need a laptop battery replacement.
Windows also offers Battery Saver mode through Settings > System > Battery saver, which helps limit background applications and provides insights into power usage patterns. Additionally, adjusting power usage plans in Control Panel > Hardware and Sound > Power Options can help optimize current battery performance while you evaluate replacement options.
For macOS users, check battery status through Apple menu > System Preferences > Energy Saver > Battery to view remaining time and current capacity. The system may display warnings like ‘Service Battery’ when replacement becomes necessary.
For more detailed analysis, consider downloading specialized battery test utilities such as BatteryInfoView for Windows or CoconutBattery for macOS. These tools provide comprehensive information about battery health, cycle counts, and capacity degradation.
Understanding Battery Lifespan and Degradation Factors
Battery degradation follows predictable patterns influenced by various usage factors and environmental conditions. On average, laptop batteries last between two to four years before requiring replacement, though actual lifespan varies based on usage patterns and care.
Most laptop batteries achieve between 300 and 500 discharge/charge cycles before experiencing significant capacity loss. Each complete cycle gradually reduces the battery’s ability to hold charge, making this metric crucial for predicting replacement timing.
Several factors accelerate battery degradation and influence when you’ll need laptop battery replacement. Screen brightness significantly impacts battery drain, with higher brightness levels requiring more power. Wi-Fi and Bluetooth connections continuously consume power, even during idle periods.
Background applications running simultaneously drain battery resources, particularly resource-intensive programs. Intensive laptop usage, including gaming, video streaming, and processor-heavy applications, accelerates battery wear through increased power demands and heat generation.
Battery age itself contributes to natural degradation, as chemical processes within the cells gradually reduce capacity over time, regardless of usage patterns. Understanding these degradation factors helps optimize current battery performance and plan for eventual replacement needs.
Choosing the Right Replacement Battery

Finding Compatible Battery Models and Specifications
When selecting a replacement battery for your laptop battery replacement project, identifying the correct model and specifications is crucial for compatibility and optimal performance. Start by locating your laptop’s model number, which is typically found on a sticker underneath your device or in your system settings. This information serves as your primary reference point when searching for compatible batteries.
Your current battery will also display essential specifications including voltage (measured in volts), capacity (measured in mAh or Wh), and the exact part number. Document these details carefully, as they must match precisely with your replacement battery. The part number is particularly important as it ensures you’re getting a battery specifically designed for your laptop’s power management system.
Cross-reference multiple sources when verifying compatibility, including your laptop manufacturer’s website, authorized dealers, and reputable battery retailers. Many online platforms offer compatibility checkers where you can input your laptop model to find suitable replacement options.
Understanding Different Battery Types and Technologies
Modern laptops primarily use lithium-ion (Li-ion) and lithium polymer (Li-Po) battery technologies, each offering distinct advantages for DIY laptop battery replacement projects. Li-ion batteries are the most common type, featuring high energy density, relatively long lifespan, and stable performance characteristics. These batteries typically provide consistent power output throughout their discharge cycle and can handle numerous charge cycles before capacity degradation becomes noticeable.
Lithium polymer batteries, while less common, offer advantages in terms of form factor flexibility and slightly improved safety characteristics. They tend to be lighter and can be manufactured in various shapes to fit specific laptop designs more efficiently.
Understanding battery cell configuration is equally important when choosing your replacement. Batteries may feature different cell arrangements (3-cell, 6-cell, 9-cell) which directly impact both capacity and physical dimensions. Higher cell counts generally provide longer runtime but may result in increased weight and thickness.
Avoiding Risks of Non-Certified Batteries
The laptop battery replacement market includes numerous non-certified or counterfeit options that pose significant risks to both your device and personal safety. These batteries often lack proper quality control measures and may feature substandard materials that can lead to overheating, swelling, or in extreme cases, thermal runaway situations.
Non-certified batteries frequently fail to meet the precise voltage and capacity specifications required by your laptop’s power management system. This mismatch can result in poor performance, shortened battery life, and potential damage to your laptop’s charging circuitry or other internal components.
When evaluating replacement options, prioritize batteries from reputable manufacturers or authorized third-party suppliers who provide proper certifications such as CE, UL, or FCC markings. These certifications indicate the battery has undergone rigorous testing for safety and performance standards.
Avoid batteries with significantly lower prices than market averages, as these often indicate compromised quality or counterfeit products. Legitimate replacement batteries for laptop battery replacement should come with warranty coverage and clear documentation regarding specifications and safety features.
Essential Tools and Preparation for Battery Replacement

Required Tools and Equipment for Safe Installation
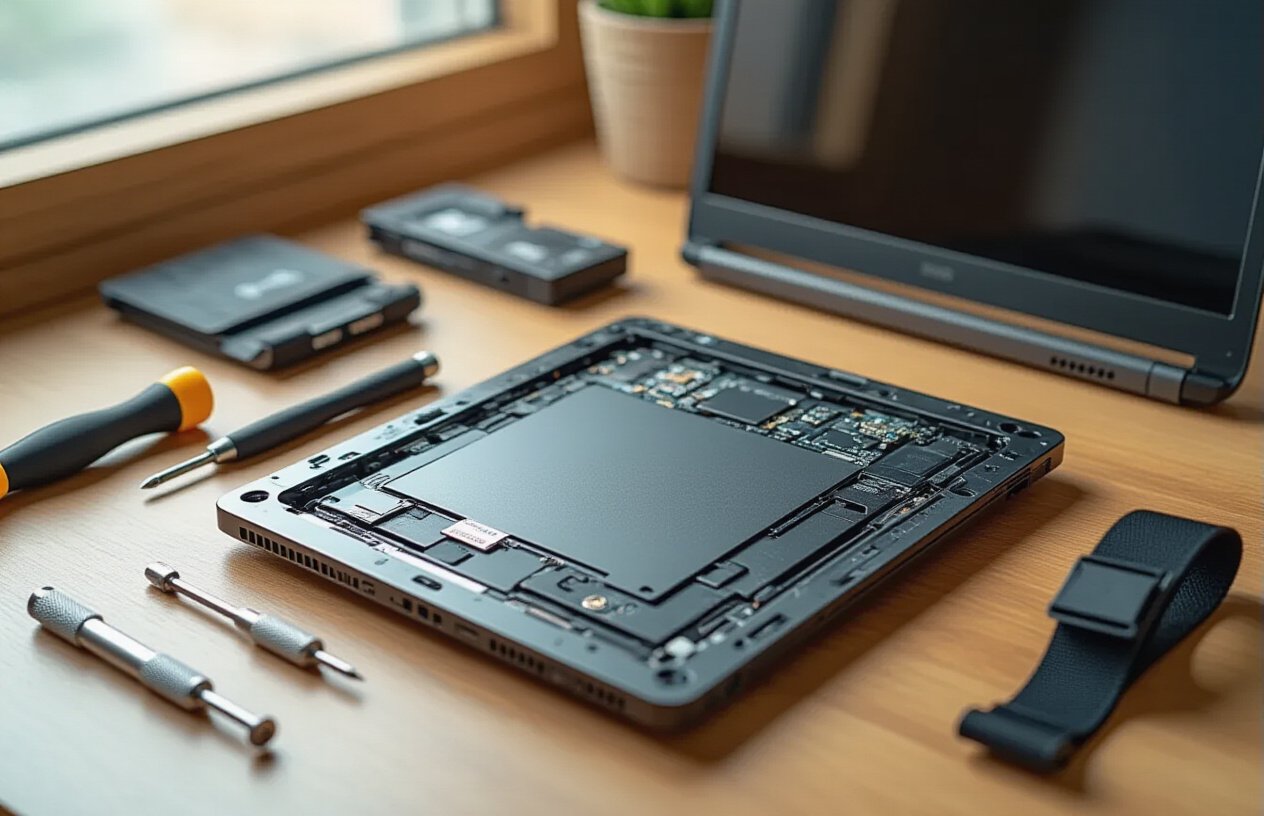
Before beginning your laptop battery replacement project, gathering the proper tools is crucial for a successful DIY laptop battery replacement. The most essential tool is a precision screwdriver set, typically including Phillips head screwdrivers in various sizes (#0, #1, and #2) as these are commonly used in laptop assembly. Many laptops also require specialized screwdrivers such as Torx or hex keys, so verify your specific model’s requirements beforehand.
An anti-static wrist strap represents another critical piece of laptop battery replacement tools, protecting sensitive electronic components from electrostatic discharge that could permanently damage your device. Additionally, keep a magnetic parts tray or small containers nearby to organize and prevent losing tiny screws during disassembly.
Other useful equipment includes:
- Plastic prying tools or spudgers for safely separating components
- A clean, lint-free cloth for wiping surfaces
- Good lighting or a desk lamp for clear visibility
- Your smartphone or camera to photograph screw locations and cable connections
- The laptop’s service manual or online teardown guide specific to your model
Safety Precautions and Workspace Setup
Creating a safe workspace is paramount when learning how to replace laptop battery components. Choose a clean, well-lit, static-free environment away from carpeted areas. A wooden or metal desk surface works best, as these materials help dissipate static electricity naturally.
Before starting your laptop battery installation, ensure the device is completely powered down—not just in sleep mode. Remove the power adapter and hold the power button for 10-15 seconds to discharge any residual electricity. This step prevents potential electrical shock and protects internal components.
Always wear your anti-static wrist strap connected to a grounded surface. If unavailable, frequently touch a grounded metal object to discharge static buildup. Keep liquids and magnetic objects away from your workspace, and ensure adequate ventilation in case you encounter any unusual odors during the process.
Manufacturer-Specific Preparations
Different laptop manufacturers implement varying approaches to laptop battery replacement, requiring specific preparation steps. Dell and HP laptops often feature easily accessible battery compartments with simple release mechanisms, while Apple MacBooks typically require more extensive disassembly.
Research your exact laptop model online to identify manufacturer-specific requirements. Some brands like Lenovo ThinkPads feature internal batteries requiring complete bottom panel removal, while others like certain ASUS models may need keyboard removal for battery access.
Download your laptop’s official service manual from the manufacturer’s support website, as these documents provide precise torque specifications, cable routing diagrams, and model-specific warnings. Additionally, verify whether your laptop requires BIOS settings adjustments post-installation, as some manufacturers implement battery authentication protocols that need addressing for optimal laptop battery replacement service results.
Step-by-Step Battery Replacement Process
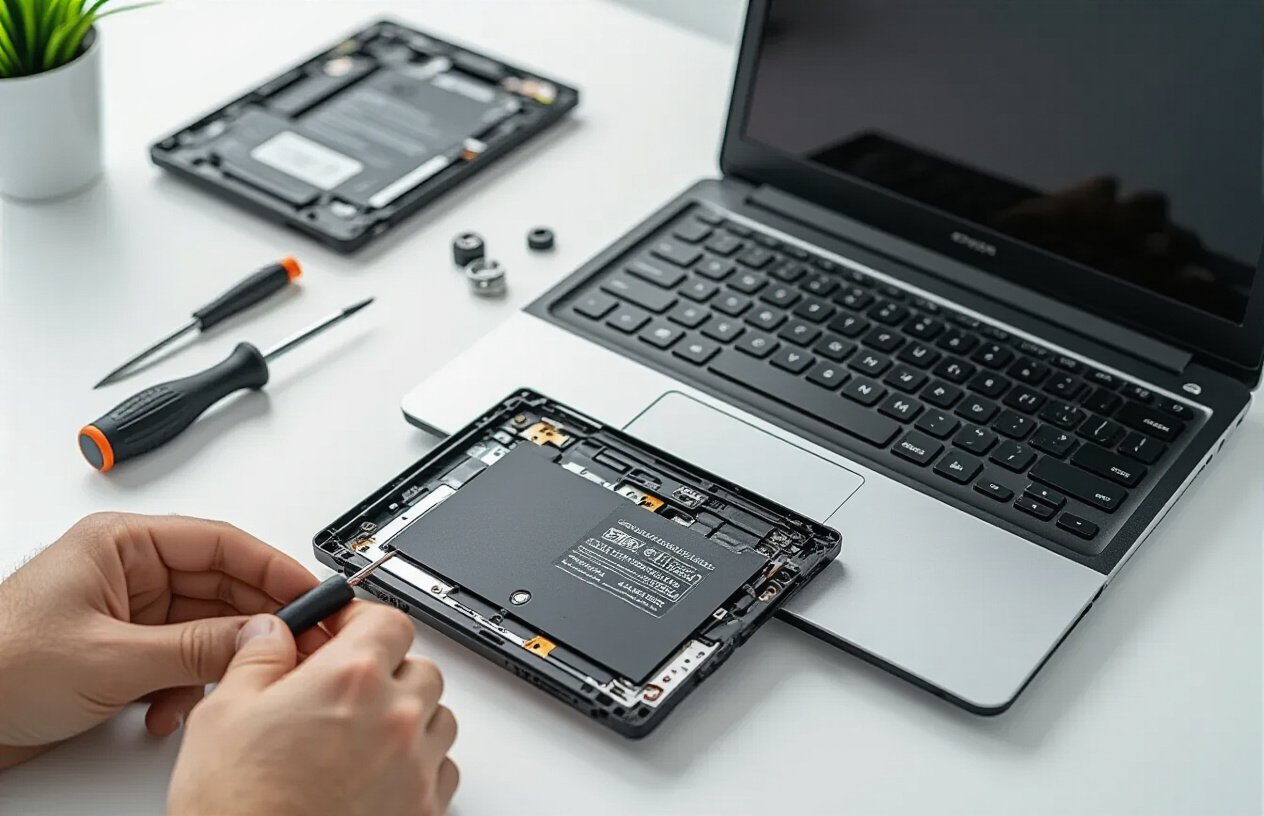
Removing the Old Battery Safely
Now that we have covered the essential tools and preparation steps, the first critical phase of your DIY laptop battery replacement begins with safely removing the old battery. Before starting any physical work, ensure your laptop is completely powered down and unplugged from any external power sources. This prevents electrical damage and protects both you and your device during the replacement process.
Begin by carefully removing your laptop’s back panel or accessing the battery compartment according to your device’s specific design. Most modern laptops feature either an external battery that slides out or an internal battery secured with screws. For external batteries, locate the battery release latches or switches, typically found on the laptop’s underside. Slide these mechanisms while gently lifting the battery away from the compartment.
For internal batteries, you’ll need to remove several screws using your prepared screwdriver set. Keep track of screw locations and sizes, as they may vary across different sections of your laptop. Once exposed, disconnect the battery cable connector by gently pulling the connector straight out from its socket. Avoid yanking or twisting the cable, as this could damage the delicate wiring. Remove any additional mounting screws securing the battery to the laptop’s chassis, then carefully lift the old battery from its housing.
Installing the New Battery Properly
With the old battery removed, installing your new battery requires precision and attention to detail for optimal laptop battery installation. Before proceeding, verify that your replacement battery matches the original specifications, including voltage, capacity, and physical dimensions. This ensures compatibility and prevents potential damage to your laptop’s charging system.
Position the new battery in the exact location where the old one was housed, ensuring proper alignment with mounting points and cable connections. For internal batteries, secure the battery using the same screws you removed earlier, but avoid over-tightening, which could damage the battery casing or laptop frame. Connect the battery cable by firmly but gently pushing the connector into its socket until you hear or feel it click into place.
Double-check all connections to ensure they’re secure and properly seated. The battery should sit flush within its compartment without any gaps or misalignment. If your laptop uses an external battery design, slide the new battery into place until the locking mechanisms engage with an audible click. Verify that the battery is firmly secured and cannot be easily dislodged by gentle movement.
Reassembling Your Laptop
Previously, we’ve successfully installed the new battery, and now the final step involves carefully reassembling your laptop to complete the replacement process. This phase requires methodical attention to ensure all components are properly reconnected and secured.
Begin by replacing your laptop’s back panel or battery compartment cover, aligning it precisely with the original position. Insert and tighten all screws in their original locations, following a diagonal pattern when multiple screws are present to ensure even pressure distribution. This prevents warping of the panel and maintains proper seal integrity.
Reconnect any additional cables or components you may have disconnected during disassembly, such as Wi-Fi antennas or other internal connections. Ensure all cables are routed properly and not pinched between panels or components. Replace any protective tape or covers that were removed during the disassembly process.
Before powering on your laptop, perform a final visual inspection to confirm all screws are tightened, panels are properly aligned, and no tools or loose components remain inside the device. With this in mind, next, we’ll see how proper post-replacement setup ensures your new battery operates at peak performance. Your laptop battery replacement is now mechanically complete and ready for initial power-up and configuration testing.
Post-Replacement Setup and Optimization
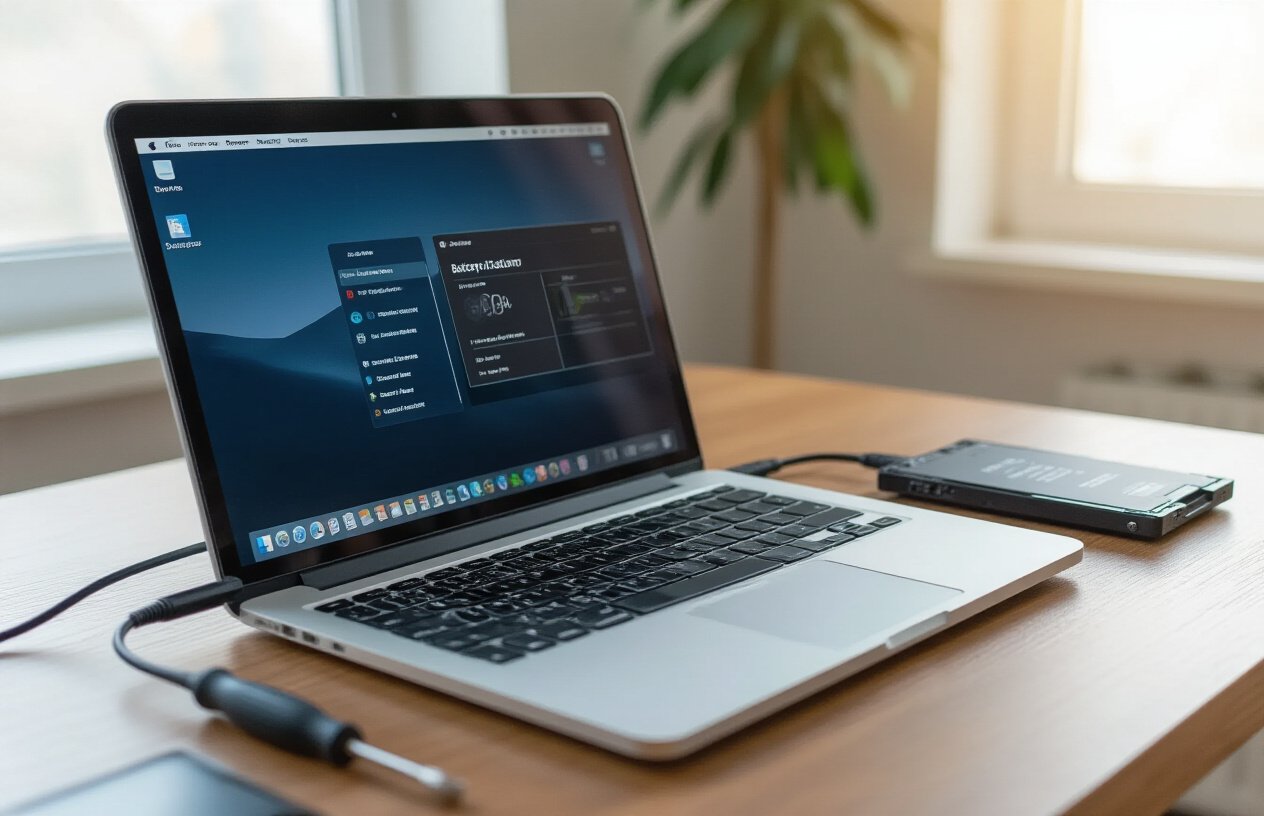
Initial Charging and Calibration Process
Now that you’ve successfully completed your laptop battery replacement, the first critical step involves properly initializing your new battery. Begin by connecting your laptop to the AC adapter and allowing the battery to charge completely to 100% without interruption. This initial charge typically takes 3-4 hours, depending on your battery capacity and laptop model.
Once fully charged, disconnect the power adapter and use your laptop normally until the battery completely drains and the system shuts down. This discharge process is essential for calibrating the battery’s internal charge monitoring system. After the laptop powers off, immediately reconnect the AC adapter and charge the battery back to 100% uninterrupted.
Repeat this complete charge-discharge cycle 2-3 times during the first week of use. This calibration process ensures your laptop’s power management system accurately reads the battery’s actual capacity and provides reliable battery life estimates.
Troubleshooting Recognition Issues
With the calibration process underway, you may encounter situations where your laptop doesn’t immediately recognize the new battery. If your system displays “battery not detected” or shows incorrect battery information, first ensure all connections are secure by powering down and reseating the battery.
Check your Device Manager for any battery-related error messages or exclamation marks. If issues persist, update your laptop’s BIOS to the latest version, as newer BIOS versions often include improved battery compatibility. Some laptops require a “battery reset” procedure – consult your manufacturer’s documentation for specific key combinations to perform this reset.
In cases where the battery percentage remains stuck or displays erratic readings, perform a power drain by holding the power button for 30 seconds with the battery and AC adapter disconnected, then reinstall both components.
Configuring Power Management Settings
Previously, your old battery’s declining performance may have masked the importance of optimal power settings. Now that you have a fresh battery, properly configuring your power management settings becomes crucial for maximizing performance and longevity.
Access your operating system’s power options and create a custom power plan tailored to your usage patterns. Set your screen brightness to 50-70% for balanced visibility and battery conservation. Configure your hard drive and system to sleep after 15-20 minutes of inactivity, and adjust processor power management to “Balanced” rather than “High Performance” for everyday tasks.
Disable unnecessary startup programs that consume background power, and review which applications have permission to run when your laptop is sleeping. Modern laptop battery replacement benefits significantly from these optimized settings, potentially extending your battery life by 20-30% compared to default configurations.
Enable battery health monitoring features in your system to track charging cycles and overall battery condition, helping you maintain your investment in this DIY laptop battery replacement for years to come.
Maximizing Your New Battery’s Performance and Lifespan
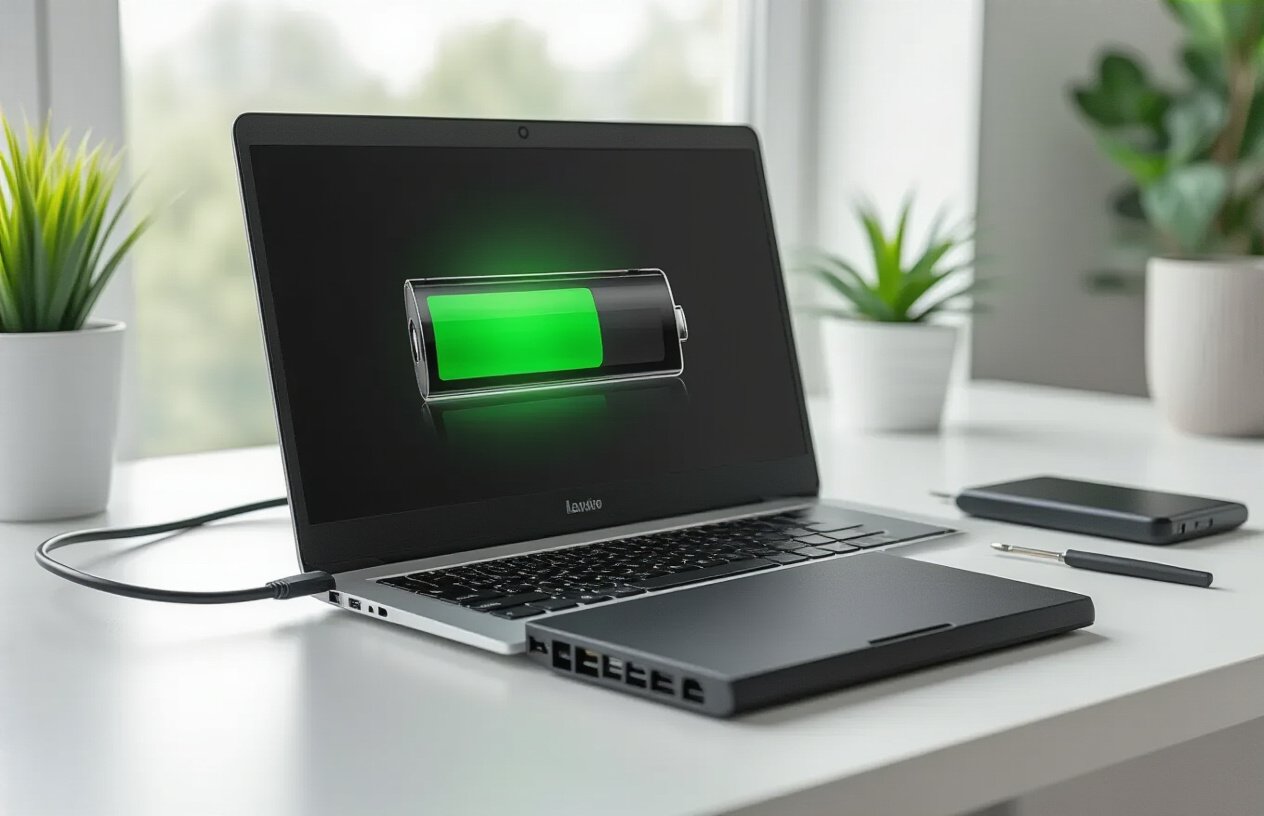
Proper Charging Techniques and Habits
Now that you’ve successfully completed your laptop battery replacement, developing optimal charging practices is essential for maximizing your investment. Modern lithium-ion batteries perform best when kept between 20% and 80% charge levels, avoiding the stress of complete discharge or constant 100% charging.
Implement a charging routine that prevents your battery from dropping below 20% whenever possible. When your laptop reaches 80% charge, consider unplugging it if you’re working at a desk with consistent power access. This practice significantly extends battery lifespan compared to keeping your device plugged in continuously.
Avoid overnight charging sessions that leave your laptop at 100% for extended periods. While modern charging circuits include overcharge protection, maintaining maximum charge creates unnecessary heat and chemical stress within the battery cells.
Temperature management during charging is equally crucial. Ensure adequate ventilation around your laptop during charging sessions, as heat accelerates battery degradation. If your laptop becomes notably warm while charging, consider pausing intensive tasks until the charging cycle completes.
Power Management Best Practices
With your new battery installed, optimizing your laptop’s power management settings will dramatically impact performance and longevity. Access your system’s power options and configure profiles that balance performance with energy efficiency based on your usage patterns.
Reduce screen brightness to comfortable levels rather than maximum settings, as the display typically consumes 30-40% of total battery power. Enable automatic brightness adjustment when available, allowing your laptop to adapt to ambient lighting conditions.
Disable unnecessary startup programs and background applications that continuously drain power. Regular maintenance of running processes ensures your new battery powers only essential functions during mobile use.
Configure sleep and hibernation settings appropriately. Set shorter intervals for display sleep while extending system sleep times to match your workflow patterns. This approach maintains productivity while conserving battery power during idle periods.
Utilize built-in battery optimization features specific to your operating system. Windows Battery Saver mode and macOS Low Power Mode automatically adjust system performance to extend laptop battery life when needed.
Storage and Maintenance Guidelines
Previously, improper storage practices have shortened many laptop batteries’ operational lifespan. When storing your laptop for extended periods, maintain battery charge between 40-60% rather than fully charged or completely depleted states.
Store your device in cool, dry environments away from direct sunlight and heat sources. Ideal storage temperatures range between 32-77°F (0-25°C) to minimize chemical degradation within battery cells.
Perform monthly calibration cycles by allowing your battery to discharge to approximately 10% before fully recharging. This process helps maintain accurate battery level reporting and optimal charge capacity management.
Keep battery contacts clean using compressed air or dry cloth to remove dust accumulation. Dirty contacts can create resistance that reduces charging efficiency and battery performance over time.
Monitor battery health through built-in system diagnostics or third-party applications. Regular health checks help identify declining performance early, allowing you to adjust usage patterns or plan future replacements accordingly. This proactive approach ensures you get maximum value from your DIY laptop battery replacement investment.
Cost Considerations and Professional vs DIY Installation

Understanding Replacement Battery Costs
The laptop battery replacement cost varies significantly based on several key factors. Original Equipment Manufacturer (OEM) batteries typically range from $50 to $200, while third-party alternatives can cost between $20 to $80. Premium laptop models often command higher battery prices due to specialized designs and proprietary technology.
Battery capacity directly impacts pricing, with higher watt-hour (Wh) ratings commanding premium costs. Additionally, newer laptop models generally have more expensive replacement batteries compared to older systems. When budgeting for laptop battery replacement, consider that purchasing directly from manufacturers usually costs more than authorized retailers or online marketplaces.
When to Choose Professional Installation
Now that we’ve covered the cost factors, let’s examine when professional laptop battery replacement service becomes the preferred option. Complex laptop designs with non-removable batteries often require specialized tools and technical expertise that justify professional installation.
Choose professional services when:
- Your laptop requires complete disassembly to access the battery
- Warranty coverage remains active and DIY replacement could void protection
- You lack confidence in handling delicate internal components
- The laptop features intricate cable routing or adhesive-mounted batteries
Professional installation typically costs $30 to $100 additional beyond battery price, but includes proper disposal of old batteries and installation guarantees.
Warranty Implications and Authorized Parts
Previously, I’ve mentioned cost considerations, but warranty implications equally impact your DIY laptop battery replacement decision. Using non-authorized replacement parts can void manufacturer warranties, potentially costing hundreds in future repairs.
Authorized parts maintain warranty coverage and ensure compatibility, though they command premium pricing. Third-party batteries may offer cost savings but risk warranty voiding and potential compatibility issues. Always verify warranty terms before proceeding with replacement, as some manufacturers explicitly prohibit user battery replacement on certain models.
Consider warranty remaining duration when deciding between professional and DIY approaches, as preserving coverage often outweighs immediate cost savings.
Replacing your laptop battery doesn’t have to be intimidating. With the right tools, proper preparation, and careful attention to manufacturer instructions, most users can successfully complete this upgrade themselves. Remember to always purchase certified compatible batteries from authorized resellers to ensure safety and optimal performance. Taking time to properly identify when replacement is needed, choosing the correct battery model, and following step-by-step installation procedures will help you avoid costly mistakes and extend your device’s lifespan.
Whether you decide to tackle the replacement yourself or seek professional installation, investing in a new battery is often more cost-effective than purchasing a new laptop. After installation, focus on maximizing your new battery’s performance through proper charging habits, avoiding extreme temperatures, and utilizing power management settings. A well-maintained replacement battery can provide 2-4 years of reliable service, keeping your laptop productive and portable for years to come.


This is an incredibly helpful guide for anyone considering a DIY laptop battery replacement. The detailed steps and warnings about non-certified batteries are especially valuable!speed stars bản Việt hóa
This guide is incredibly helpful for anyone considering a DIY laptop battery replacement! The detailed steps and precautions make the process seem much less daunting. I especially appreciated the emphasis on finding the right compatible battery and proper charging techniques for longevity. Great resource!unblocked basketball games
This guide is incredibly helpful for anyone considering a DIY laptop battery replacement! The detailed steps and precautions make the process seem much less daunting.MartialArts
This guide is incredibly helpful for anyone considering a DIY laptop battery replacement! The detailed steps and precautions make the process seem much less daunting. I especially appreciated the emphasis on finding the right compatible battery and proper charging techniques for longevity.free ai logo generator no watermark
This guide is incredibly helpful for anyone considering a DIY laptop battery replacement! The detailed steps and warnings about non-certified batteries are especially valuable.MIM